Healthy snacking has emerged as an imperative in today’s fast-paced world, especially for energy-maintainers and nutritionally-savvy individuals. Fruit bars are some snacks that satisfy the conditions of being healthful, tasty, and convenient. They are easy to carry, sweet to taste, and filled with nutrients. They are ideal go-to snacks whether one is working, traveling, or just staying at home. What’s more? You can prepare them at home with zero preservatives or artificial sweeteners from simple ingredients.
Thus, this blog is going to take you through the ingredients and the very easy step-by-step process of how to make fruit bar.
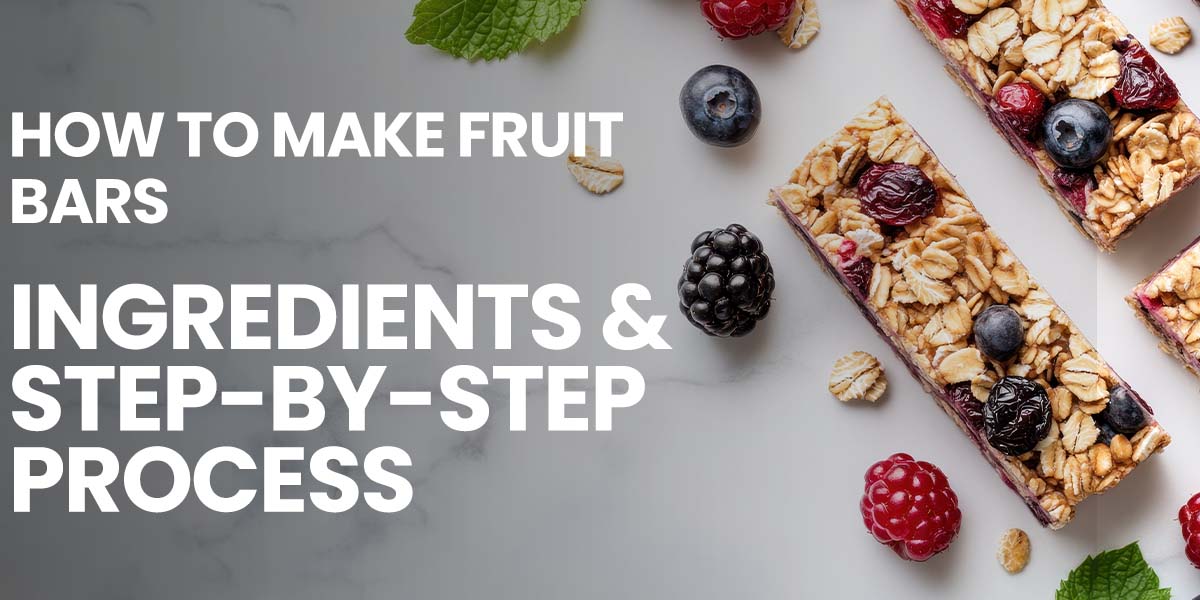
Ingredients for Homemade Fruit Bars
Here is a list of generally used ingredients and fruit bar manufacturing process. But apart from this, you can manipulate it just according to your taste or diet preferences.
Fruit Bar Ingredients:
- 2 cups rolled oats – a great source of fiber, and gives structure
- 1 cup dried fruits – such as dates, raisins, apricots, figs, or cranberries
- 1/2 cup nuts – like almonds, walnuts, cashews, and pistachios
- 1/4 cup seeds – flax, chia, pumpkin, or sunflower seeds
- 1/4 cup nut butter – such as peanut or almond butter
- 1/4 cup honey or maple syrup – sweet and sticky
- 1 tsp vanilla extract – flavor
- 1/2 tsp cinnamon (optional) – warmth and depth
You might also want to add optional mix-ins like dark chocolate chips, coconut flakes, lemon zest, or protein powder.
How To Make Fruit Bar
Step 1: Toast Dry Ingredients
Preheat your oven to 160°C (320°F). Spread oats, chopped nuts, and seeds on a baking tray. They should toast for 7–10 minutes or until lightly golden. This step enriches taste and creates crunchiness, but you can avoid it for a softer bar.
Step 2: Blend the Dried Fruits
Add your chosen dried fruit, especially those that are sticky like dates or apricots, to a food processor, and blend until you have a thick, sticky paste. If your mixture is too dry, add a tablespoon of warm water to help it blend well.
Step 3: Heat Wet Ingredients
In a saucepan over low heat, mix nut butter and honey (or maple syrup). Continuously stir until the mixture becomes smooth and slightly runny. Add vanilla extract and, finally, cinnamon and mix well.
Step 4: Combine Everything
To a large mixing bowl, add the toasted oats, nuts, and seeds. Pour in the dried fruit paste and the warm nut butter-honey mix. Thoroughly mix everything with a spatula or your hands until you get a well-combined mixture.
Step 5: Shape and Press
Line an 8-inch by 8-inch tray with parchment paper. Transfer the mixture into a tray and firmly press it downwards using a spatula, spoon, or your palms. The tighter you pack it, the better the bars will hold.
Step 6: Chill to Set
Chill the tray for at least 2 hours. Alternatively, you can freeze it for 30 to 40 minutes. The mixture will firm up and will be easier to cut.
Step 7: Slice into Bars
Remove from the fridge when set and lift the parchment out of the tray with the mixture attached. Use a sharp knife to cut it into rectangular or square bars.
Step 8: Store Properly
Your homemade fruit bars should be kept in an airtight container. They can last fresh:
In the refrigerator: for up to 2 weeks
In the freezer: for up to 3 months
Why Make Fruit Bars at Home?
Homemade fruit bars allow you to maintain complete control over their content. You can exclude preservatives, excess sugar, or allergens. You can define your texture according to your taste test, how sweet or flavored you want it. They also cost less than buying bars in the store.
Flavor Variations to Try
Want to experiment? Try these delicious variations:
- Tropical Bars
Use dried mango, pineapple, coconut flakes, and cashews for a beachy bite.
- Chocolate Energy Bars
Add cocoa powder and dark chocolate chips with dates and almonds for a dessert-style bar.
- Berry Nutty Bars
Use dried blueberries or cranberries with walnuts and sunflower seeds.
- Banana Oat Bars
Mash a ripe banana into the mix for a soft, chewy texture and natural sweetness.
Tips for Best Fruit Bars
- Use sticky fruits: Dates, figs, or apricots help bind the ingredients.
- Cut clean: Dip your knife in warm water before slicing for neat bars.
- Don’t overblend: Keep some chunks of nuts or fruit for texture.
- Customizable: Make them vegan, gluten-free, or high-protein with just a few swaps.
Nutritional Benefits of Fruit Bars
Homemade fruit bars are not just tasty but of significant nutritional value:
- Rich fiber: Useful in digestion and maintaining satiety over periods.
- Natural energy: Excellent fuel for pre- or post-workout performance.
- Healthy fats: From nuts and seeds that serve heart and brain health.
- Vitamins and minerals: Found aplenty in dried fruits and seeds.
- Low GI ingredients: Assist in controlling blood sugar levels.
Whether you’re on a clean-eating lifestyle or just want to indulge healthily, fruit bars are a good choice.
When to Eat Fruit Bars?
These bars are highly versatile. They can be enjoyed:
- As a quick breakfast when you’re running late.
- Pre-workout snack for a boost of energy.
- Post-workout recovery to replenish glycogen levels.
- Midday snack to beat the 4 PM slump.
- On road trips or treks, it is a travel-friendly, non-perishable food item.
- In school lunchboxes for kids, there are sweet yet healthy treats.
Wrapping It Up
It is very easy to make fruit bars at home, and the very end result is a delicious, nutritious snack, built according to taste. Control the ingredients, no processed sugars, and other fresh, satisfying sources of energy. The next time you consider healthy snack options, forget about what you see on the shelves in stores and try making a batch of your fruit bars. With all those combinations to try, you’ll never get bored. Happy snacking!